Showing posts with label Dairy. Show all posts

Tuesday, March 12, 2013

Homemade Whey Ricotta


I'm a fairly simple gal. I don't wear makeup at home, only shave my legs when we're expecting more than 3 days of sunshine, and consider lavender goat's milk soap to be the equivalent of a large bottle of Dior perfume.

Honestly, anything with the word "fume" in it is lost on me.

I also enjoy finding multiple ways to use something up before tossing it into the recyclable bin, Goodwill box, compost pile, or pig trough.

With all of the cheesemaking I've been doing lately, I'm finding that the whey tends to add up. Especially if I make a 2 lb. batch of cheese on a daily basis.

Ya. We like cheese.

After doing a quick Google search on ricotta, I found a recipe using just the whey. Whey is the liquid that is left after all the milk solids are used to form the curds. At least, I thought they were all used up.


Looking into the pot, I couldn't see how anything else could be extracted from the liquid. Sure, there were little white particles floating on top, but they were few and far between, and according to the recipe, for every 2 gallons of whey used, I should expect 2-3 cups of ricotta.

Well, if you know me at all, I like a good challenge. Even if my ricotta adventure ended up being an epic fail, I would have the satisfaction of knowing that I doubted this little endeavor to begin with. And for a simple gal like me, that can be good enough.

Occasionally though, I like to be proven wrong. ☺

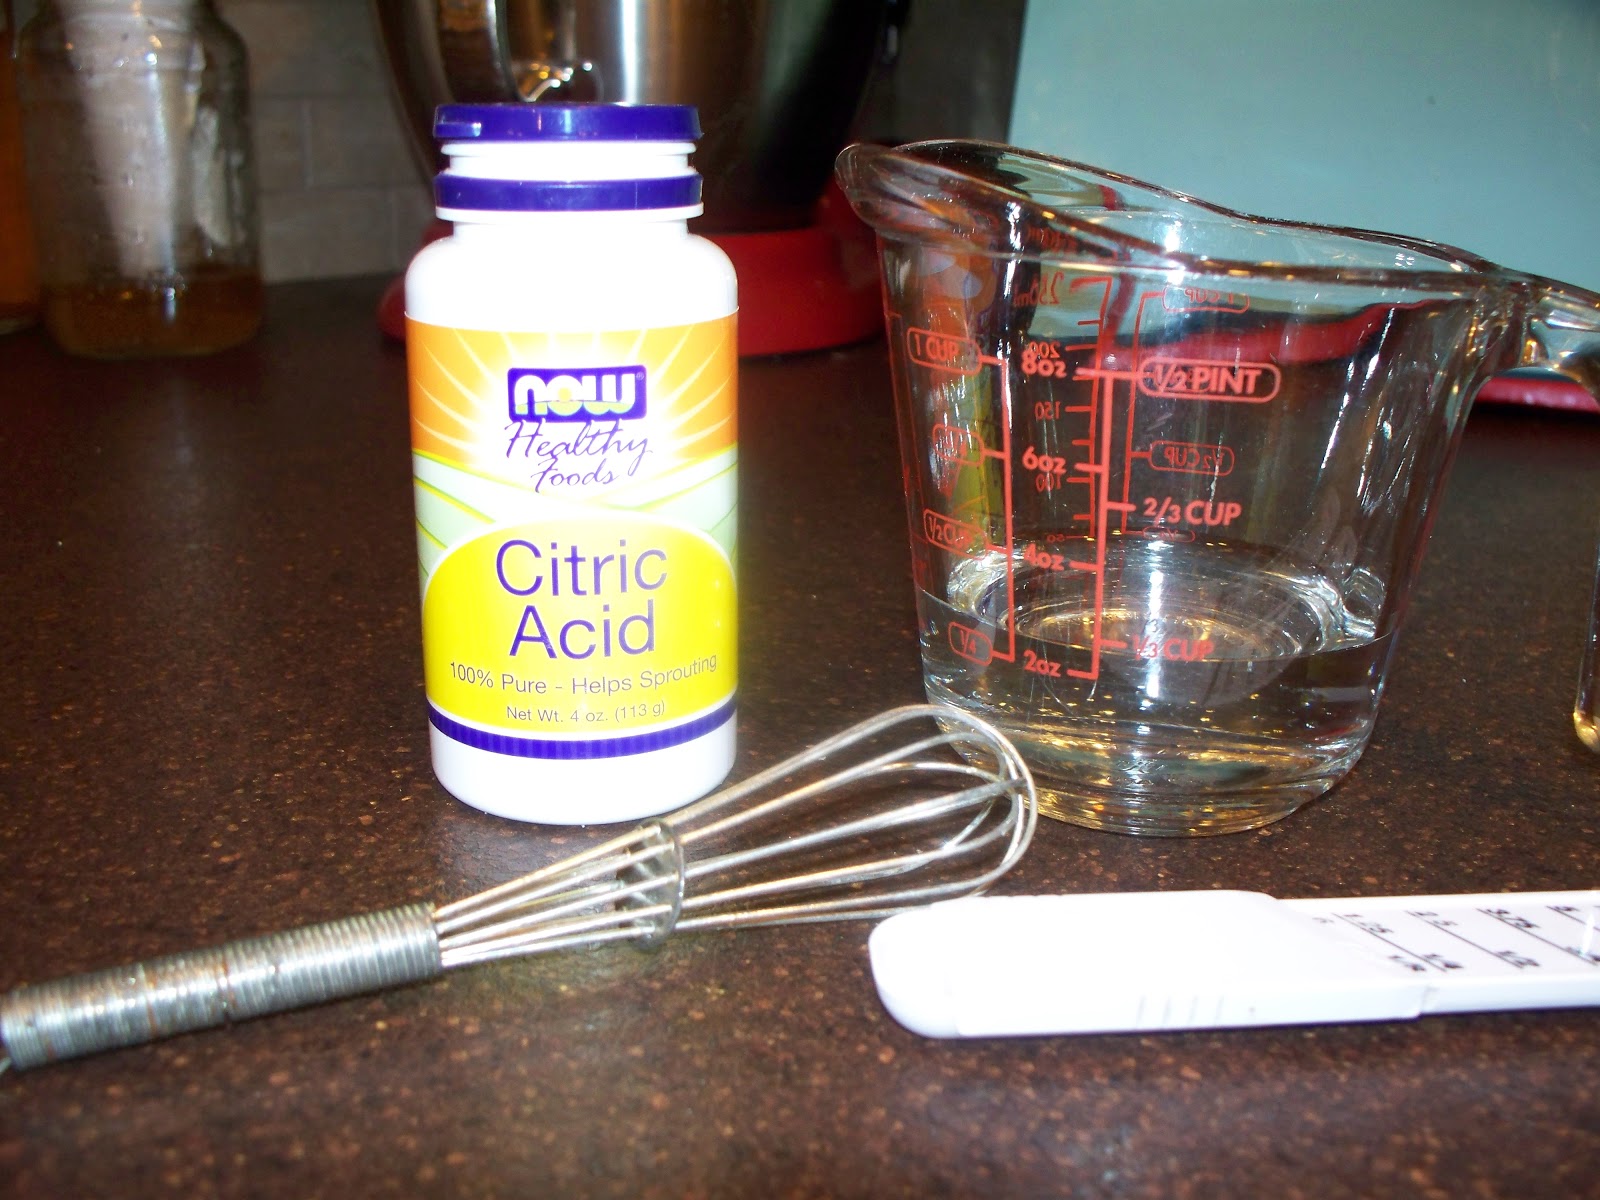
Here's what you'll need:

2 gallons leftover whey from making mozzarella
a large pot that has several inches of space at the top once the whey is added
long-handled slotted spoon (I use a skimmer.)
2 thin 100% (non-terry) cotton towels, or several layers of cheesecloth
colander
thermometer


Set a colander in a large pot and line the colander with 1 towel. Strain your fresh whey through the towel to remove any bits and pieces that may be in the liquid. Remove colander/towel and place a lid on the pot. Set the pot on the back of the stove and leave it for 12-24 hours to culture.

The next day, remove the lid and place the pot on medium heat. Bring the temperature up to 208 degrees, stirring occasionally to keep the solids from sticking to the bottom of the pot. (Trust me, those solids are in there, even if you can't see them!)


Be careful when taking the temperature, the steam is very hot! See how the yellow-ish liquid has turned white and foamy? This is what you want.

Give the whey another good stir, remove from heat and replace the lid. And wait. For me, this is the toughest part.

I'm simple, not patient.


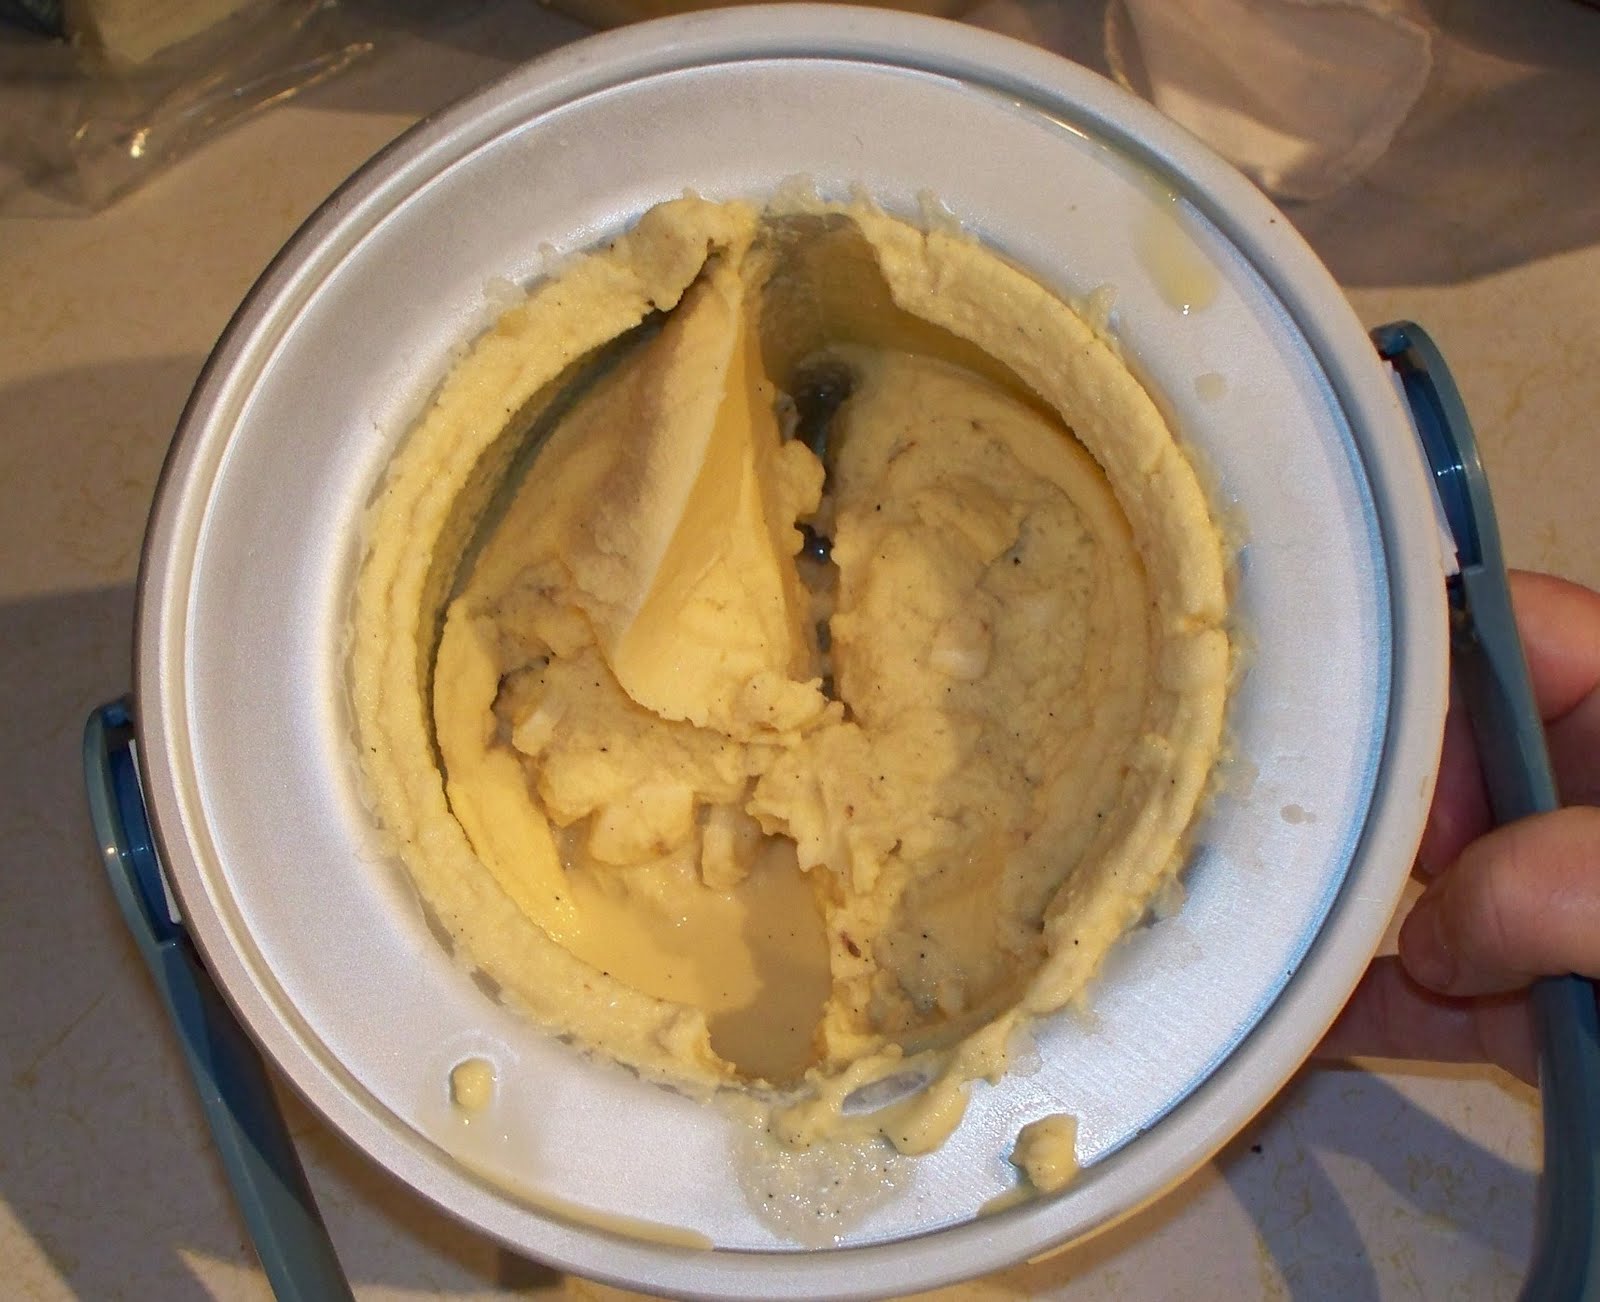
When the liquid is cool enough to handle, line your colander with towel #2 and set inside another large pot. Gently scoop out the solids. I scoop as much as possible, then gently pour the rest through the towel/colander.

Once most of the liquid has drained from the solids, gather the corners of your towel and tie with a rubberband. Hang the cheese to drain until the bag no longer drips, approximately 1 hour. Don't worry if your ricotta drains longer; if it's too dry, you can add a little milk or cream until it reaches a consistency that you like.

I use a muslin bag for hanging the ricotta.

Don't worry about getting fancy with the hanging, just make sure that there's a pot beneath to catch the drips. Trust me.

My fancy method of hanging cheese works great, unless I need cinnamon out of the spice cabinet.☺
One the cheese is drained, scrape it out of the towel and place in a covered glass bowl. Refrigerate for up to 1 week.

Use your ricotta in pasta dishes, as a base for dips or salad dressings, or on pancakes with a little homemade jam. Yum!

And if you have have chickens or pigs, they'll appreciate the leftover-leftover whey.

Our newest pigs~The Haminator, Porkticus, and Swineheart

Probably more than the homecoming "gifts" of free bagels and doughnuts.

I think the "boys" and I are going to get along just fine, don't you?

Sunday, November 4, 2012

It's All About the Butter

There was a time when I didn't understand this well-known quote from Julia Child. While growing up, I thought that margarine was butter, and cream came from the freezer section with mini-marshmallows and nuts in it.

In my 20's, I learned that there was a difference between butter and margarine, which had nothing to do with nutritional value. It was all about the finances. As a young married couple, margarine was cheap. I remember buying a particular brand that cost a mere $.39/lb. That was an entire box! For 39 cents! And I could add it to our 25 cent carton of macaroni & cheese. We were poor, and it was ignorant bliss that we chose to stay in until much later.

At the turn of the 20th century, heart disease was unheard of. And everyone ate butter. Because margarine didn't exist. (Neither did soybean oil, but I'm not opening that can of worms today!) It wasn't until some dude in the 1960's declared that saturated fat caused heart disease, and the ban on butter began. Even though, up until this point, every home in America had been using butter, much of which was made right at home. And if butter is so bad, why hasn't the rate of heart disease decreased with the increased use of low-fat, butter-like psuedo spreads? Maybe because butter, by itself, is not the culprit of clogged arteries and coronary heart disease?

I wish I would have known how easy it was to make butter earlier. It takes only minutes, and doesn't require that you have a family cow or a special churn. Homemade butter is best when used fresh, but it can also be frozen for up to 2 months if wrapped in waxed paper and placed in a freezer bag. (I freeze in 1/2 cup servings so it's easier to use in baking.)

And don't let fear of butter stand in your way...

...start with the cream.

That Julia Child was a smart lady.

There are a couple of ways to make butter at home. First, start with some heavy whipping cream. This can be fresh from the cow, or bought from the grocery store. Just try to find cream that has not been ultra-pasteurized and is organic if at all possible.

Method #1~

Pour 2 cups heavy cream into a wide-mouth quart jar. Place a piece of plastic wrap over the jar, then secure with a screw-top lid.


And shake.


*See below for next step.

Method #2~

Pour cream into mixing bowl with paddle attachment.


If your mixer has a splash guard, use it, otherwise you can just place a towel over the mixer.


Turn the mixer on medium-high and let it run until the butter has separated from the buttermilk.


*For Method #1 & #2~Using a strainer, pour the buttermilk off. (Save it for the chickens, pigs, or use it in a recipe.)


Put the butter back into the bowl and pour some ice water into it. I use the strainer to keep the ice out of the butter.
 

Using the mixer with the same attachment, turn it on the lowest setting and allow water/butter to swirl around for about 15 seconds. Pour off the water. You can add salt now, if desired. (I only add salt if we're going to put it in the butter crock.) Use a wooden spoon to press out any remaining water, before transferring the butter to a covered glass container. Store in the fridge until ready to use, or in a butter crock for soft butter.


Now I need to find some biscuits...☺

This post is linked to The Homestead Barn Hop.

Sunday, October 21, 2012

Making Mozzarella


Lately, my life has been about cheese. Pounds and pounds of cheese. With gallons to spare, mozzarella has become one of my favorite ways to use up the excess milk that seems to multiply overnight.

And, it seems that pudding for breakfast, lunch, and dinner isn't an acceptable form of excess milk usage in the United States of America.

Go figure.

Since I do not have a cheese press (yet!), I researched recipes for soft cheeses before settling on mozzarella. Then I had to sift through all of those recipes for one that made sense to me.

After a couple hours of internet use and a postponement of a history lesson I needed to teach, I finally found the one. Like a light shining from up above, my eyes went to the DVD stand and landed on a copy of Homestead Blessings: Dairy Delights. The West ladies know how to make cheese. And ice cream. And butter. While smiling.

And they don't have any fancy-schmancy gadgets to do it.

Mozzarella is a very easy cheese to make. If you have a source of fresh milk, use it. But if you don't, don't fret. You can still make mozzie using store-bought milk! Just be sure to not use ultra-pasteurized or high-heat pasteurized milk, as all the "good stuff" has been killed.


The Ingredients~

2 gallons of cold milk (Use raw, whole or 2 %)
citric acid
*liquid rennet (see below)
filtered water

The Process~

Pour milk into a large pot. Mix together 2-1/2 t. of citric acid (which can be found in any health food section or sprouting section of a store) with 1/4 cup filtered water until citric acid is dissolved. Pour citric acid into the milk and stir with a long-handled wooden spoon for about 2 minutes.


Begin to heat milk on medium low to 88*F, stirring gently. This could take up to 20 minutes.


Use a dairy or digital thermometer to determine the temperature. (Stir well before reading so the heat will be evenly distributed throughout the milk.)

Once 88*F. has been reached, turn off the stove.


Mix 1/8 t. liquid rennet with 1/4 cup water. Add the rennet solution to the warmed milk, stirring for 15-20 seconds. Set a timer for 30 minutes.


Then, walk away. Seriously. Take a shower. Call your mom. Sneak into your secret chocolate stash, or read a book. Just don't come back and stir the pot. You'll have to trust me on this one. After 30 minutes, the milk should look like a large pot of tofu. But better.


Using a long knife, cut through the curd (all the way down) into 1-inch strips. After that is done, do the same crossways. Like this: #


Let this sit for 5 minutes. After 5 minutes, turn the burner on to medium. Stir, without mixing, to keep the curds from sticking to the bottom of the pot. Put your spoon straight down into the curds and lift up.


Once the curds have reached 108*F. (this won't take long since they are already warm), turn off the heat. Let the solution sit for 20 minutes, stirring occasionally.

Drain the curds in a colander for 15 minutes. My picture didn't turn out, but I set the colander in a large bowl and drained the whey into that for my pigs. They LOVE the whey! (Chickens love it too!) While the cheese is draining, mix 1/2 gallon of water with 1/2 cup of fine sea salt and heat to boiling. You can use the same pot that the cheese was in without washing it.

At the end of 15 minutes, cut the cheese (which resembles a big, hot blob of goo) into strips.


Dump the strips into a large bowl and add half of the boiling saltwater. Stir with wooden forks or spoons for about 10 minutes.  After 5, drain the water off and add the other half of the saltwater. This is the one time where playing with your food is a good thing, so stretch, pull, tug, and swirl away.


Drain the cheese into the colander to start kneading it. It will be extremely hot, so use the wooden forks/spoons until cool enough to handle. This will get all the water out of the cheese.


As soon as you're able, turn the cheese out onto a counter/cutting board and knead by hand. You will want to stretch and pull this to allow any water bubbles to escape. I fold the cheese over and into itself, kind of like shaping loaves of bread. Remember, that as the cheese cools, it will become more difficult to shape the cheese, so work quickly. When I'm done, I place the still-warm cheese into a Pyrex loaf pan and cover it with a piece of wax paper and a lid.


Store in the refrigerator until ready to use.


This recipe makes approximately 2 pounds of fresh mozzarella cheese that is solid enough to be grated or sliced. If you won't use it all up within a week, mozzarella can be frozen for up to 2 months if wrapped in plastic and placed in a freezer bag.

Not that cheese has EVER lasted more than 2 days in our house.☺

*Rennet can be found in most health food stores or online. You can use either the calf rennet, made from the lining of a calf's stomach (ew.) or vegetable rennet, which is made from a type of mold.

This post is linked to the Homestead Barn Hop, The Farmgirl Blog Fest, and Farmgirl Friday Blog Hop.

Monday, March 29, 2010

Vanilla Bean & Banana Raw Milk Ice Cream

First, let me apologize for not coming up with a snappier title for this post.

Vananana Ice Cream doesn't flow from the tongue easily.

Bananilla sounds like a Saturday morning cartoon character.

Well, from my childhood anyway.

You know, in the olden days.

Which makes me wonder why my children would even think that we had televisions if we were still driving chariots in those days.

One more thing to ponder.

Since we started reading labels, it has been very difficult to find ice cream that doesn't scream

"POISONOUS. CONSUME ONLY IF YOUR HEALTH DOES NOT MATTER TO YOU!"

Here are some names you might recognize from the ice cream carton: **1)Diethylglycol, 2)Piperonal, 3)Aldehyde, 4)Ethyl Acetate, 5)Butyraldehyde, 6)Amyl Acetate, and 7)Benzyl Acetate.

What? You don't recognize them?

Then why would anyone eat them? Or worse yet, give them to their children?

A simple rule of thumb...if we can't pronounce the ingredients, it's probably not a good idea to bring them into our homes.

Unless the word is cinnamon. Just know, a lot of people cannot pronounce the word cinnamon.

At least 3 of them live with me.

Here's a healthy alternative to store-bought ice cream.

And you can name it whatever you like!


2 cups raw cream (or pasteurized cream, just not ultra-pasteurized!)
1 cup raw milk (or 1 cup whole, pasteurized milk, not ultra!)
2 large egg yolks (from free-range, organic chickens)
1/3 cup pure maple syrup
1 vanilla bean
1 t. vanilla extract
1 organic banana

Mix cream, milk and egg yolks in a bowl. Add maple syrup. Slice open a vanilla bean and scrape the seeds into milk mixture. Add vanilla extract. Pour mixture into an ice cream maker. Add 1 banana that has been sliced very thin. Process according to manufacturer's instructions.


Moaning with pleasure is optional.


**1) used in antifreeze and paint removers (used in place of eggs)
2) used to kill lice (in place of vanilla flavoring)
3) inflammable liquid used in aniline dyes, plastic and rubber (cherry flavoring)
4) used as a cleaner for leather and textiles; its vapors have been known to cause chronic lung, liver and heart damage. (pineapple flavoring)
5) an ingredient in rubber cement (used in nut flavored ice cream)
6) used as an oil paint solvent (banana flavoring)
7) nitrate solvent (strawberry flavoring)

Information from Nourishing Traditions and PPNF Health Journal


Thursday, February 11, 2010

Just Yogurt

My newest obsession is the book, "Animal, Vegetable, Miracle" by Barbara Kingsolver. If you haven't had the opportunity to read this book, you are missing out on a good read.


The gist of the book is this; we consume far too many processed foods and foods that have traveled more than we will, ever, in our entire lifetimes. It's not only about learning to eat locally, but also to eat foods that are in season. This is why tomatoes in January look nothing like tomatoes in August! It is the story of Ms. Kingsolver's family's journey toward better health, nutrition and knowledge. Knowing where our food comes from is a big step toward healthier eating.


Recognizing the words on the labels is the second step.


I suggest purchasing a very large dictionary.


There are other books that are on my "to-do" list of must reads. These include "The Omnivore's Dilemma", and "Food, Inc. by Michael Pollan, and "Everything I Want to Do is Illegal: War Stories from the Local Food Front" by Joel Salatin. I plan to be reading for awhile.


While roaming the aisles of one of our local grocery stores, looking for some good deals, I found a sign "10 for $10" in the yogurt section. Since the shelves were pretty bare, I realized that a lot of people were fooled into buying these "great deals". For $1.00, you too can eat 6 oz. of high fructose corn syrup, modified food starch and some natural & artificial flavoring. It's your decision as to which artificial flavoring you choose though.


That's very kind of the yogurt manufacturer, don't you think?


Making homemade yogurt is very easy. It requires an incubator, milk, yogurt culture, and a thermometer. (If you purchase an incubator from the link, it comes with the thermometer!) I have 2 different incubators, one does 7 individual servings, the other does 2 quarts of yogurt. I'll show you how to use the latter.


First, gather your ingredients. You need 2 quarts whole, pasteurized milk (not ultra-pasteurized, very important!), a yogurt culture (I use Yogourmet that I found in the health food store.), a thermometer, and a pot and wire whisk.


Into a medium sized saucepan, pour 2 quarts of whole milk. On medium heat, bring the temperature up to 180F. Use the whisk every so often to distribute the heat. When the temperature is reached, remove pan from heat. Let the milk cool down to about 112F, give or take a degree. To cool faster, set pan in larger pan of ice water.


Pour 10 grams of yogurt starter into a cup.


When the milk has cooled to the right temperature, add 5 or 6 Tablespoons of it to the culture.


Pour the cultured milk back into the saucepan with the remaining milk and stir it in well.

Pour the milk into the batch tub.


Add about 12 ounces of lukewarm water to the incubator base. There are 2 lines in the bottom. One is for a half-batch, the other for a full batch.

Set the covered batch tub into the incubator base and plug it in.


Put the lid on the base and be patient.

Clean something. Watch a movie. Read a blog. But DO NOT OPEN THE INCUBATOR FOR AT LEAST 4 HOURS!!!!

Nothing bad will happen, but patience is a virtue. And we all want to virtuous. Right? Right? *Tap*Tap* Hey is this thing on?


The yogurt should be done after about 4 hours, but check the consistency and see if you like it. If it's too thin, let it incubate a little longer. To stop the incubating process, remove the batch jar from the base and place in the refrigerator until cool; about 8 hours.

Then doll up your creation yourself! Since there is no sweetener in it yet, you can add honey, maple syrup, sugar or my personal favorite, liquid vanilla stevia. I wouldn't go crazy and doctor the whole batch with sweetener though, just do it as you serve it. That way you're not committed. And don't forget the fruit! Fresh, frozen, canned...it's all good.

When your yogurt is in the serving dish, it's hard to tell homemade from store-bought.


*A friend of mine incubates her yogurt in a beverage cooler. You know, the kind you take camping? Anyway, she pours her yogurt into a large glass jar, wraps it in a towel and sets it into the cooler. Then she puts a heating pad on the lowest setting, inside the cooler and closes the lid. She then puts a blanket on top of the cooler and lets it set overnight. In the morning, she has yogurt! For peace of mind, the first time I would suggest starting this in the morning so it will be done by bedtime.