

Lately, my life has been about cheese. Pounds and pounds of cheese. With gallons to spare, mozzarella has become one of my favorite ways to use up the excess milk that seems to multiply overnight.
And, it seems that pudding for breakfast, lunch, and dinner isn't an acceptable form of excess milk usage in the United States of America.
Go figure.
Since I do not have a cheese press (yet!), I researched recipes for soft cheeses before settling on mozzarella. Then I had to sift through all of those recipes for one that made sense to me.
After a couple hours of internet use and a postponement of a history lesson I needed to teach, I finally found the one. Like a light shining from up above, my eyes went to the DVD stand and landed on a copy of Homestead Blessings: Dairy Delights. The West ladies know how to make cheese. And ice cream. And butter. While smiling.
And they don't have any fancy-schmancy gadgets to do it.
Mozzarella is a very easy cheese to make. If you have a source of fresh milk, use it. But if you don't, don't fret. You can still make mozzie using store-bought milk! Just be sure to not use ultra-pasteurized or high-heat pasteurized milk, as all the "good stuff" has been killed.
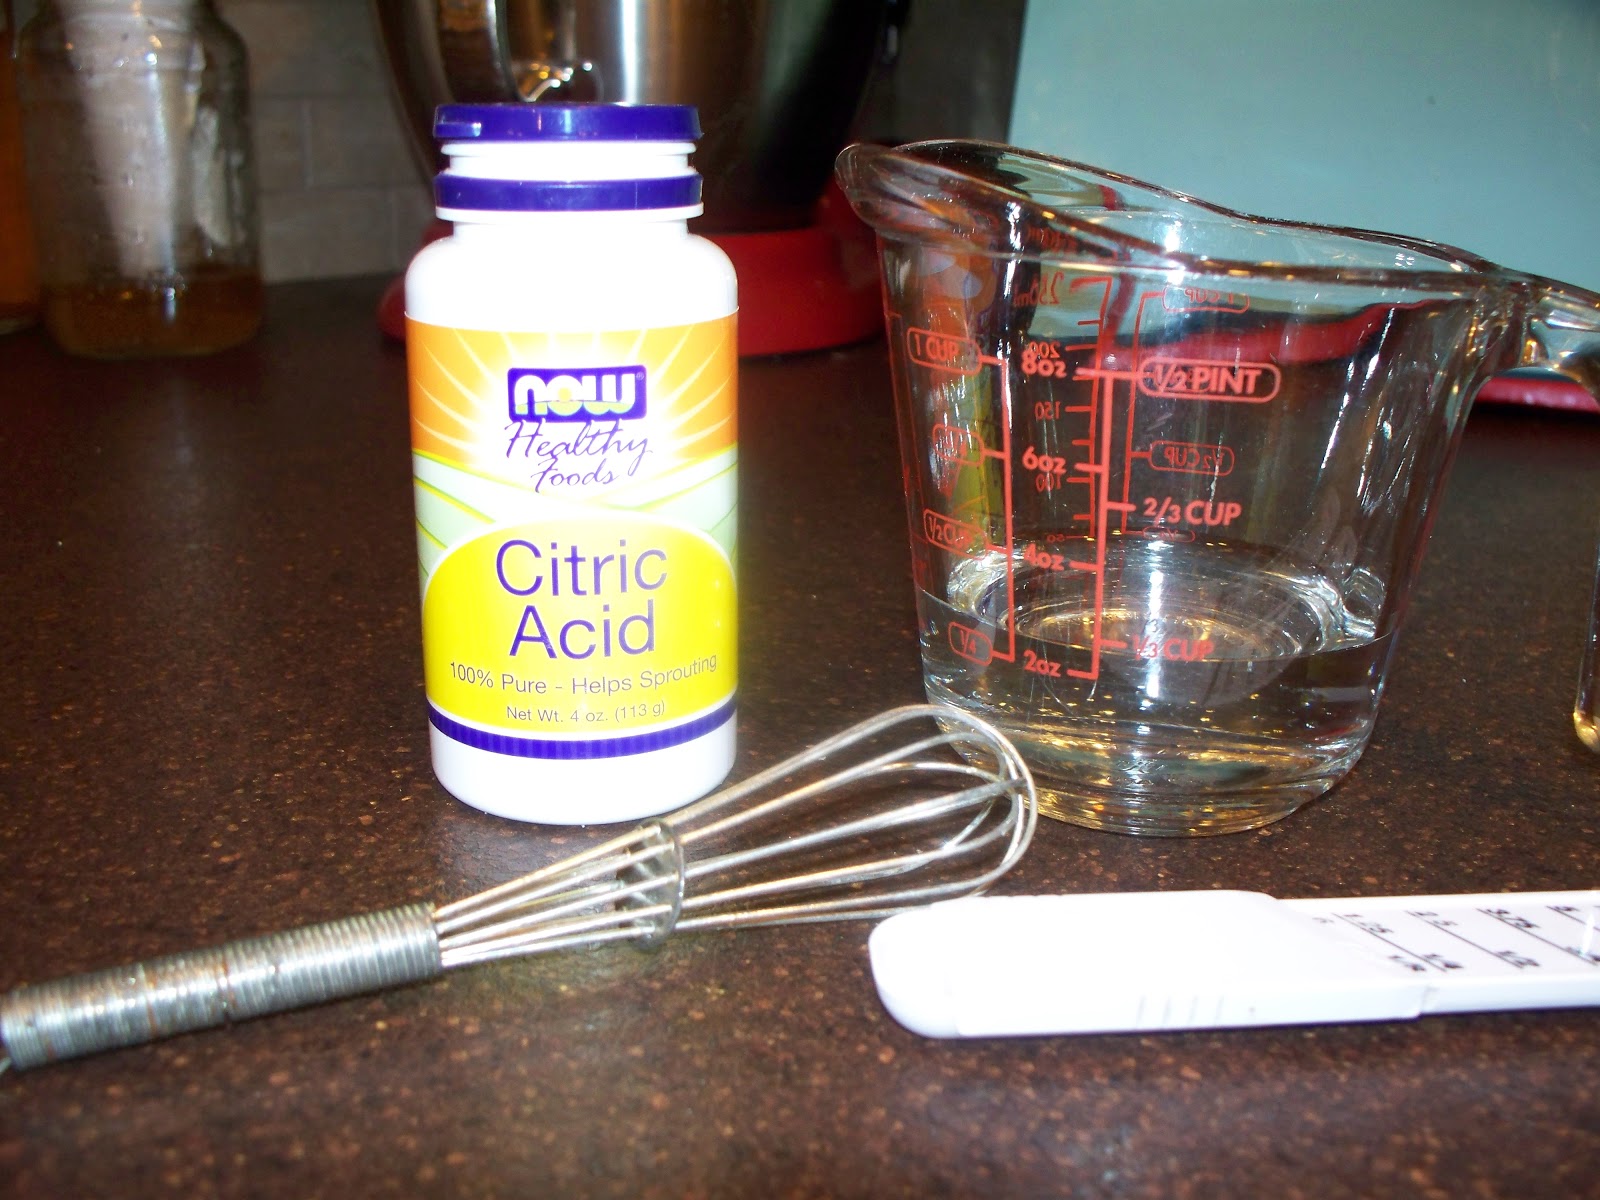
The Ingredients~
2 gallons of cold milk (Use raw, whole or 2 %)citric acid
*liquid rennet (see below)
filtered water
The Process~
Pour milk into a large pot. Mix together 2-1/2 t. of citric acid (which can be found in any health food section or sprouting section of a store) with 1/4 cup filtered water until citric acid is dissolved. Pour citric acid into the milk and stir with a long-handled wooden spoon for about 2 minutes.
Begin to heat milk on medium low to 88*F, stirring gently. This could take up to 20 minutes.

Use a dairy or digital thermometer to determine the temperature. (Stir well before reading so the heat will be evenly distributed throughout the milk.)
Once 88*F. has been reached, turn off the stove.

Mix 1/8 t. liquid rennet with 1/4 cup water. Add the rennet solution to the warmed milk, stirring for 15-20 seconds. Set a timer for 30 minutes.

Then, walk away. Seriously. Take a shower. Call your mom. Sneak into your secret chocolate stash, or read a book. Just don't come back and stir the pot. You'll have to trust me on this one. After 30 minutes, the milk should look like a large pot of tofu. But better.

Using a long knife, cut through the curd (all the way down) into 1-inch strips. After that is done, do the same crossways. Like this: #


Let this sit for 5 minutes. After 5 minutes, turn the burner on to medium. Stir, without mixing, to keep the curds from sticking to the bottom of the pot. Put your spoon straight down into the curds and lift up.

Once the curds have reached 108*F. (this won't take long since they are already warm), turn off the heat. Let the solution sit for 20 minutes, stirring occasionally.
Drain the curds in a colander for 15 minutes. My picture didn't turn out, but I set the colander in a large bowl and drained the whey into that for my pigs. They LOVE the whey! (Chickens love it too!) While the cheese is draining, mix 1/2 gallon of water with 1/2 cup of fine sea salt and heat to boiling. You can use the same pot that the cheese was in without washing it.
At the end of 15 minutes, cut the cheese (which resembles a big, hot blob of goo) into strips.

Dump the strips into a large bowl and add half of the boiling saltwater. Stir with wooden forks or spoons for about 10 minutes. After 5, drain the water off and add the other half of the saltwater. This is the one time where playing with your food is a good thing, so stretch, pull, tug, and swirl away.


Drain the cheese into the colander to start kneading it. It will be extremely hot, so use the wooden forks/spoons until cool enough to handle. This will get all the water out of the cheese.


As soon as you're able, turn the cheese out onto a counter/cutting board and knead by hand. You will want to stretch and pull this to allow any water bubbles to escape. I fold the cheese over and into itself, kind of like shaping loaves of bread. Remember, that as the cheese cools, it will become more difficult to shape the cheese, so work quickly. When I'm done, I place the still-warm cheese into a Pyrex loaf pan and cover it with a piece of wax paper and a lid.

Store in the refrigerator until ready to use.

Not that cheese has EVER lasted more than 2 days in our house.☺
*Rennet can be found in most health food stores or online. You can use either the calf rennet, made from the lining of a calf's stomach (ew.) or vegetable rennet, which is made from a type of mold.
This post is linked to the Homestead Barn Hop, The Farmgirl Blog Fest, and Farmgirl Friday Blog Hop.
11 comments:
Wow, thank you for showing the process step by step. We haven't reached the point of having dairy animals (our HOA would probably frown on that!) but I'd love to give it a try with purchased milk. Your post made me feel like I could actually make it work! Thanks.
Have a question,where do you get rennet and what is it?
Annnightflyer~You can find rennet at most health food stores or online at cheesemaking supply companies. I like the vegetable rennet, which is made from a type of mold. But there is also another type of rennet taken from the stomach lining of a calf~I can't seem to bring myself to use that one though! I've added this to my post~Thank you for asking!
Great step-by-step tutorial on making mozzarella, thanks!! :)
I have 5 half gallons of milk in my fridge right now and I'll probably be getting 10 more in milking over the next 2 days, so this is timely! Plus, hubby has been asking me, "When are you going to make cheese!"
I don't know why but you make this seem so easy...and do-able! I have the Art of Dairy Delights and have watched the West ladies make cheese but it still seems easier the way you have shown it. Thanks! :)
So, after you have cheddar down to a science, make sure you post a tutorial so that I can make that too!!
I have not made it this way - I am of the "30 Minute Mozz" school, since I usually end up making it at night after work. I'll have to try it when I have more time. I LOVE homemade mozz!
Thanks for posting! We live 45 minutes away from Swiss/Amish cheese factories, so we always see them making the cheese in a large amount. It was fun to see it being done at home...Great post! Blessings from Nancy at livininthegreen
What a beautiful blog you have. I found you through Homestead Revival and am a new follower. I love this post, I am still looking for fresh milk to try and make my own cheese. I hope you will come share at our weekly Farm Girl Blog Fest. Lisa/Fresh Eggs Daily http://fresh-eggs-daily.blogspot.com/2012/10/farm-girl-blog-fest-5.html
Hi Kim, I’m Anne from Life on the Funny Farm (http://annesfunnyfarm.blogspot.com), and I’m visiting from Farmgirl Friday.
I've always wanted to try my hand at making cheese, but was a bit intimidated. Your instructions are great!
Anyway, thanks for posting this. I hope you can pop by my blog sometime to say hi…
Now this is a tutorial to bookmark! I can't wait to give it a try, I love mozzerella and will love it even more if it's from my own kitchen! Thanks for sharing.
Hey Kim!
I can't wait to try this. I have always put off ordering the citric acid although I found rennet. I just found citric acid in with the canning supplies at our local farm store. Can't wait to try this!
If I do nothing else this summer, I want to try making mozzarella!
Thanks for a great post! (And my brother and his wife do have chickens so they will get a treat with the wey!)
Post a Comment